Many of us see the glass surfaces in our homes deteriorate over time. This can be very disappointing, especially when your home is pretty new. Pets or children are usually the culprits behind these scratches, but scratches can happen in so many ways, even if we are super careful.
Over time, you might stare at your scratched sliding door, thinking “I just can’t fork out the money to replace it”, but did you know that if the scratch is not too deep, you may be able to get it repaired instead of replaced?
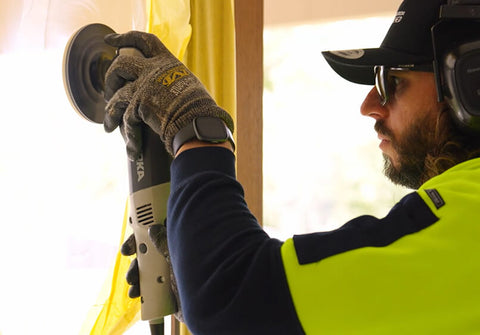
If you are a tradie, you may know a little bit about sanding, but glass scratches are a little bit more difficult to sand than other surfaces. It is very easy for an inexperienced person to ruin a window when trying to repair it. If you are looking to do repairs on glass yourself, we recommend researching a lot before you get started, or instead, hiring a professional.
There are businesses out there like ‘Starting from Scratched’ in Melbourne that are experienced in scratch removal on windows, glass doors, car windows, splashbacks, mirrors and more. Steve from ‘Starting from Scratched’ knows all too well how often this occurs
“We have many clients who are selling their home or leaving their rental property, and to get their bond back, have been advised to replace a window. We can come in and remove the scratches without the need for them to go through replacement costs”.

We have found that many businesses in construction have found it inevitable that glass windows in new homes or even high-rise buildings can get damaged in transit or post-installation. Steve also has clients like this -
“The bonus for the home builder, is they will go through the final client defect list just before settlement and they don’t have to worry about organising for replacement of glass where there might be an issue with supply, especially with your custom-sized windows, we’ll just come in and remove the scratch”.
Glass is a material that requires diligent attention when sanding, and so not everyone would be able to achieve a good result without the proper training.
Some things to be aware of:
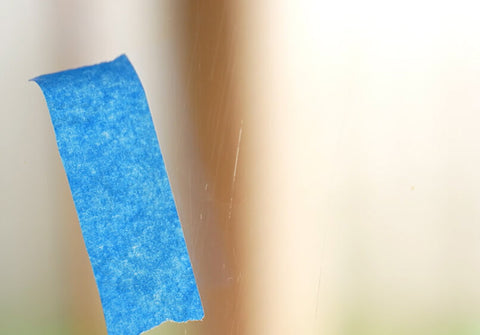
- The scratch may be too deep to repair
If the scratch marks are quite deep, it may be better to consult an expert. The scratch may be too deep to repair at all.
- There is a risk of optical refraction
When sanding glass, it is important to make the process as short as possible to avoid optical refraction. Sanding the glass for too long, or not sanding it correctly can result in distortion of the glass, creating glare or other visual effects that disrupt the clarity of the glass.
- If the glass gets too hot, it can crack or get damaged
It is important throughout the sanding process to monitor the temperature using a Digital Temperature Gauge to prevent damage to the glass.
Mirka offer some top quality products that are revered by our glass customers. Steve from ‘Starting from Scratch’ says
“So since moving to the Mirka products, we’ve found that, even though cost wise, they were a little bit more expensive, we are using the same discs for a longer time, so it is cheaper in the long run, where we are not having to replace them as much.”
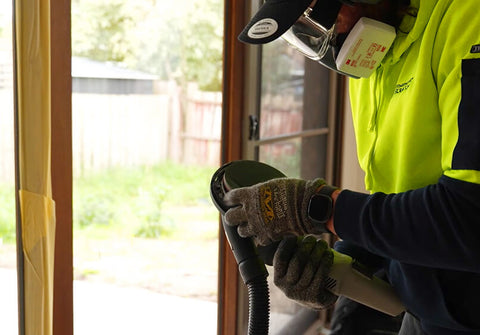
Mirka have put so much time into the design and technology of their products, they have established themselves as leaders in the market. Mirka’s Abralon Foam abrasive is an effective glass cutting and polishing product. Steve mentioned
“The big thing with the Abralon pads is that they have a strong but soft foam backing. It won’t tear, and it doesn’t embed into the glass too much, which can create distortion.”

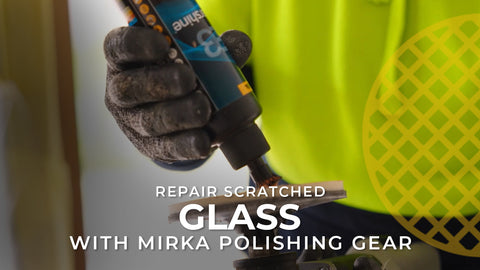
When polishing glass, we recommend Mirka’s Polarshine E3 Polishing Compound and Felt Polishing Pads, which are specifically formulated for glass. Steve also finds these products exceptional for his process.
“We use the Mirka polishing pads, they’ve got a great thickness and gives a great finish of removing all the sanding that you’ve already done with the Abralon pads. It's got a great grab onto the glass and the Mirka E3 Polish along with the polish pad gives a great result where your getting out all the sanding so quickly”.
If you are working in the glass industry, looking at starting out, or looking at doing some glass repairs, we’ve put together a list of tips for you. Keep in mind that this is not a simple process to tackle.
Some tips for a perfect finish:
- Clean the glass before starting
We recommend cleaning the glass surface with both window cleaning liquid and IPA before starting the process. This will eliminate different kinds of dirt and grease that may be present on the glass.
- Tape off the area
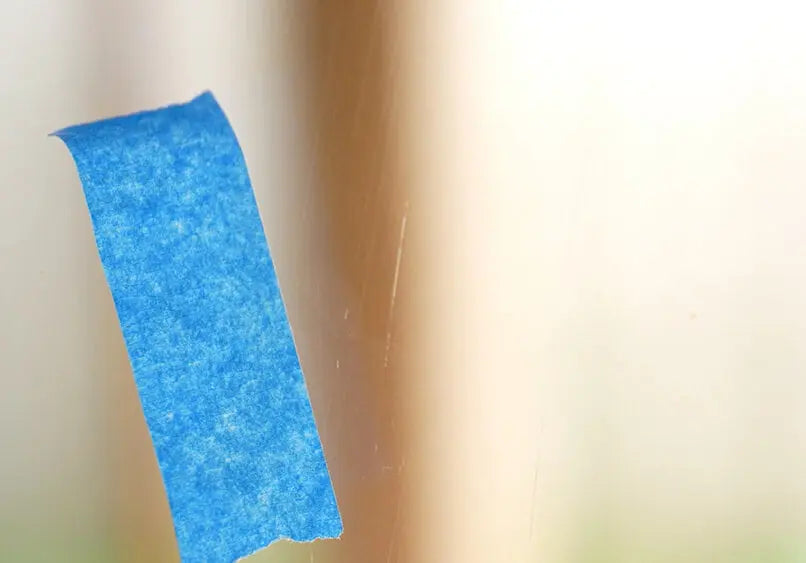
Taping around the area where you will be sanding is important because it can create a barrier to protect surrounding areas. It also serves as a marker of where the sanding should end.
- Wear protective gear
When sanding glass, even if using a dust-free sander, we always recommend wearing protective gear just to be safe. If using a Cordless Polisher like the ARP-B Cordless Polisher, this is essential. Glass sanding produces harmful dust that can be very harmful to your health.
- Wear gloves
Throughout the entire process, ensure you are wearing gloves. Wearing gloves prevents fingerprints and oils from fingers to effect the finishing result.
- Always start with a finer grit
When beginning the process, always begin with the finest grit that will effectively remove the scratch, working your way to coarser grits. This method helps prepare the glass, removing minor imperfections while maintaining smoothness. Coarser grits are more aggressive and can cause deeper scratches. Starting with a finer grit will also give you more control over the process, eliminating the risk of over-sanding. For deeper scratches, Mirka Abranet SIC NS is required. For superficial scratches, Mirka Abralon is suitable.

- Always keep the machine flat to the surface
When sanding and polishing, always remember to keep the machine flat on the glass surface to ensure a smooth finish.
- Set the machine to its lowest speed
To control the glass surface temperature, it is important to regularly check that the temperature of the glass stays below 70°c. If the temperature gets too high, it can result in cracking or thermal stress or other damage. When using Mirka’s ARP-B Cordless Polisher for example, set the speed to 1500 rpm, which is the lowest setting on the machine.
- Clean the glass in between steps
Always clean the glass surface in between steps to keep it free of dust which may result in further scratches.
- Give time in between steps
Although cleaning the glass between steps helps the glass to cool, it is still best to leave 5-10 minutes between steps to avoid overheating the glass.
- Use a firm polishing pad
Mirka’s Felt Polishing Pads are the right firmness for the job. Used with Mirka’s Polarshine E3 Polishing Compound, it provides a professional finish to the glass.
If you are in need of glass repairs in the Melbourne area, we recommend giving Steve from ‘Starting from Scratched’ a call on (03) 8759 5629, or visit their site here.





3 comments
Regular window cleaning and maintenance help keep your home safe, energy-efficient, and comfortable. Simple tasks like cleaning, repainting wood frames, and checking for early signs of rot can save you costly repairs later. If windows no longer operate smoothly, calling a professional ensures proper inspection and long-lasting performance.https://thebetterchoice.co/maintenance-services
Absolutely agree! It’s amazing how often people overlook the option of repairing scratched glass windows and doors. Not only is it a more eco-friendly choice, but it’s also often much more cost-effective. Why go through the hassle and expense of replacing an entire window or door when a professional can seamlessly repair those scratches, restoring the beauty and functionality of your glass? It’s a win-win for both your wallet and the environment. https://unscratchthesurface.com/
I can relate to what you said about how many of us witness the degradation of our houses’ glass surfaces over time. Also, you said that this may be quite discouraging, particularly if your house is not too old. This reminded me of that annoying, worn-out window in my kitchen that needs to be replaced professionally before the holiday season comes around. https://www.fastglass247.com.au/glass-repairs-and-replacements