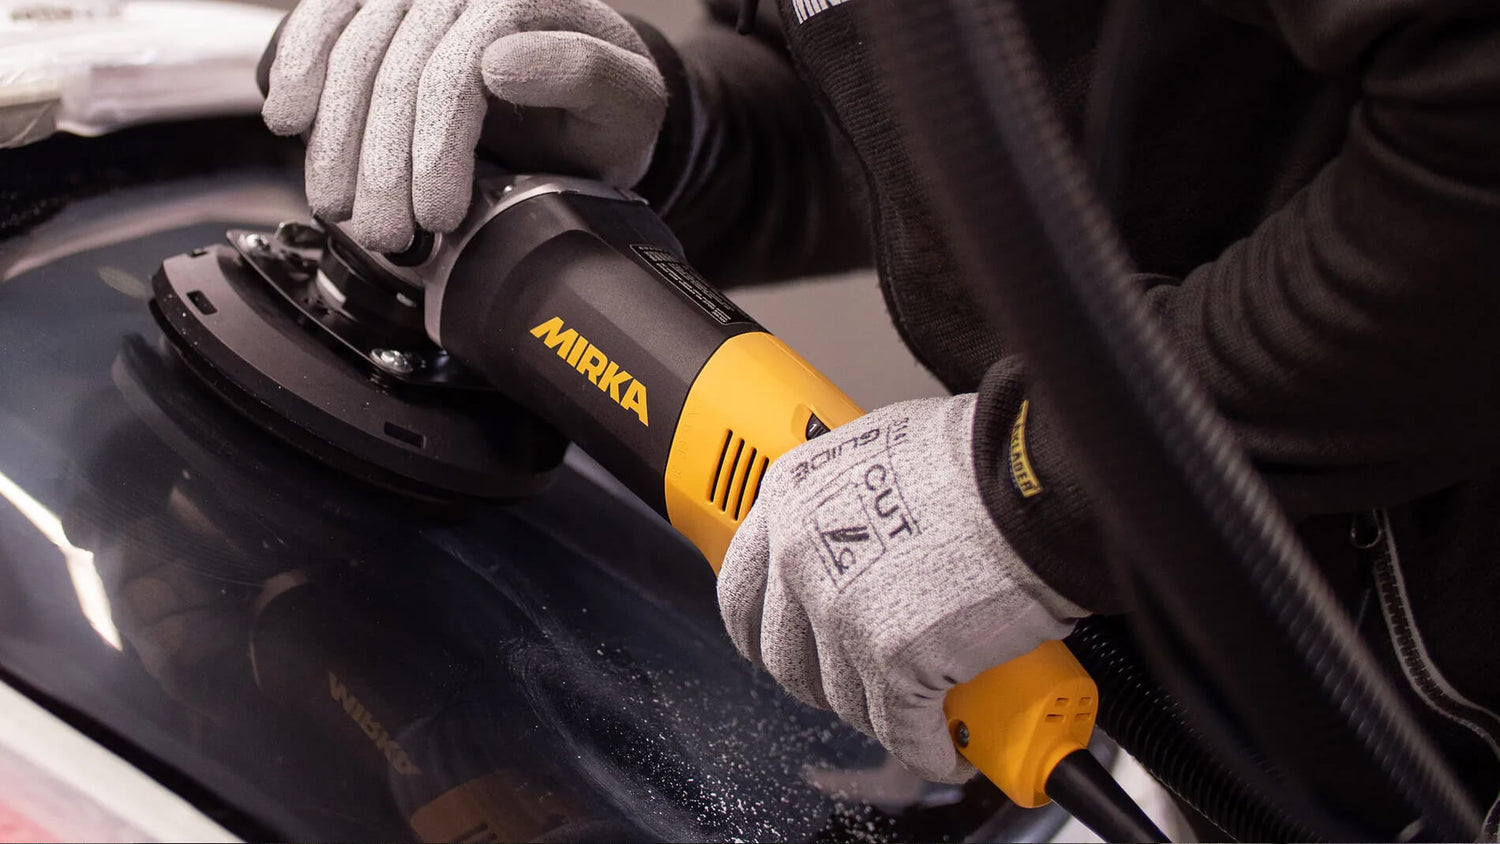
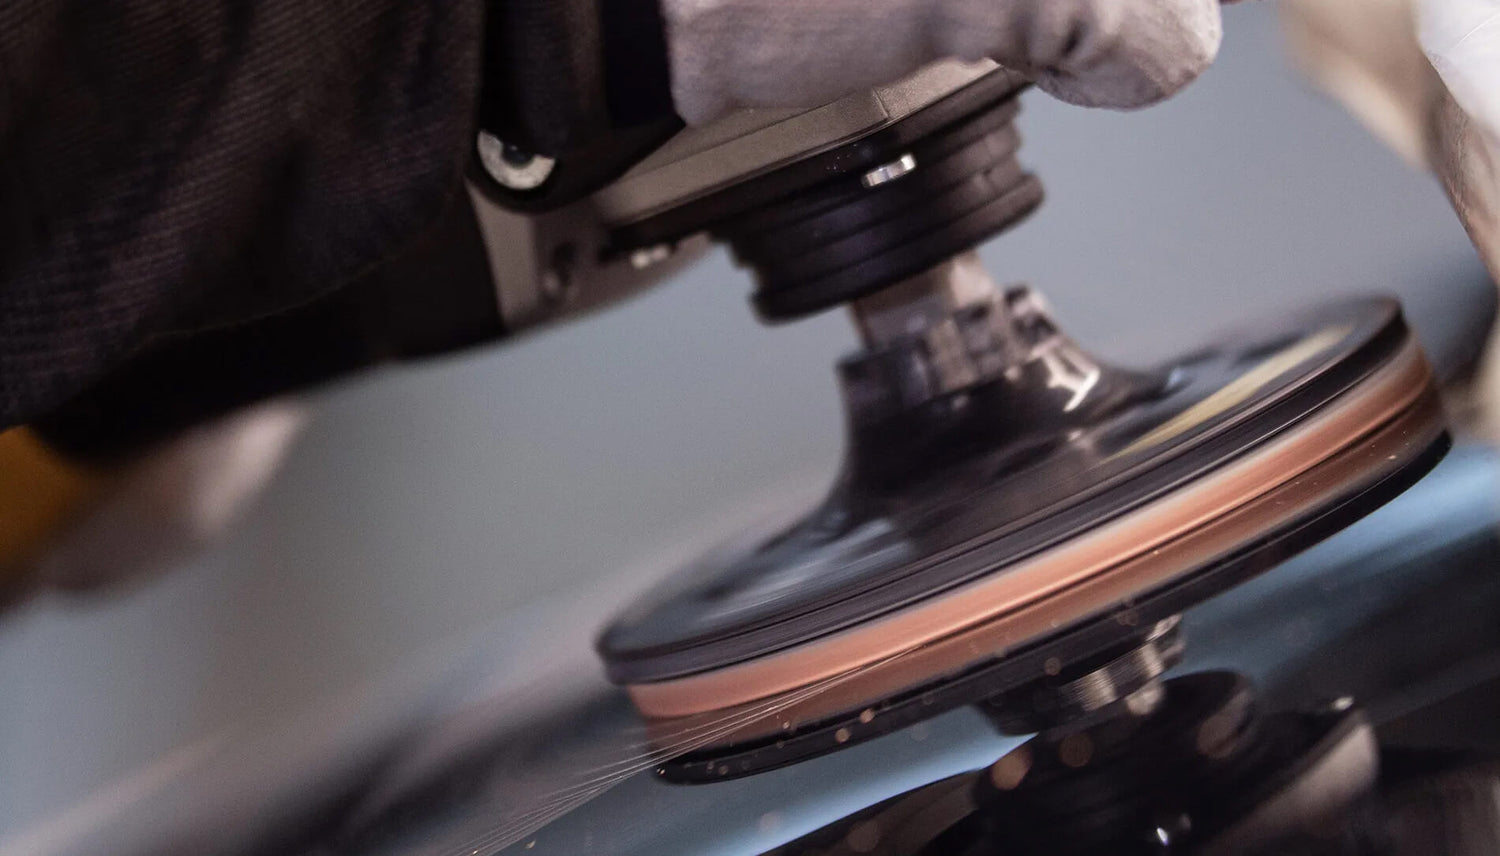
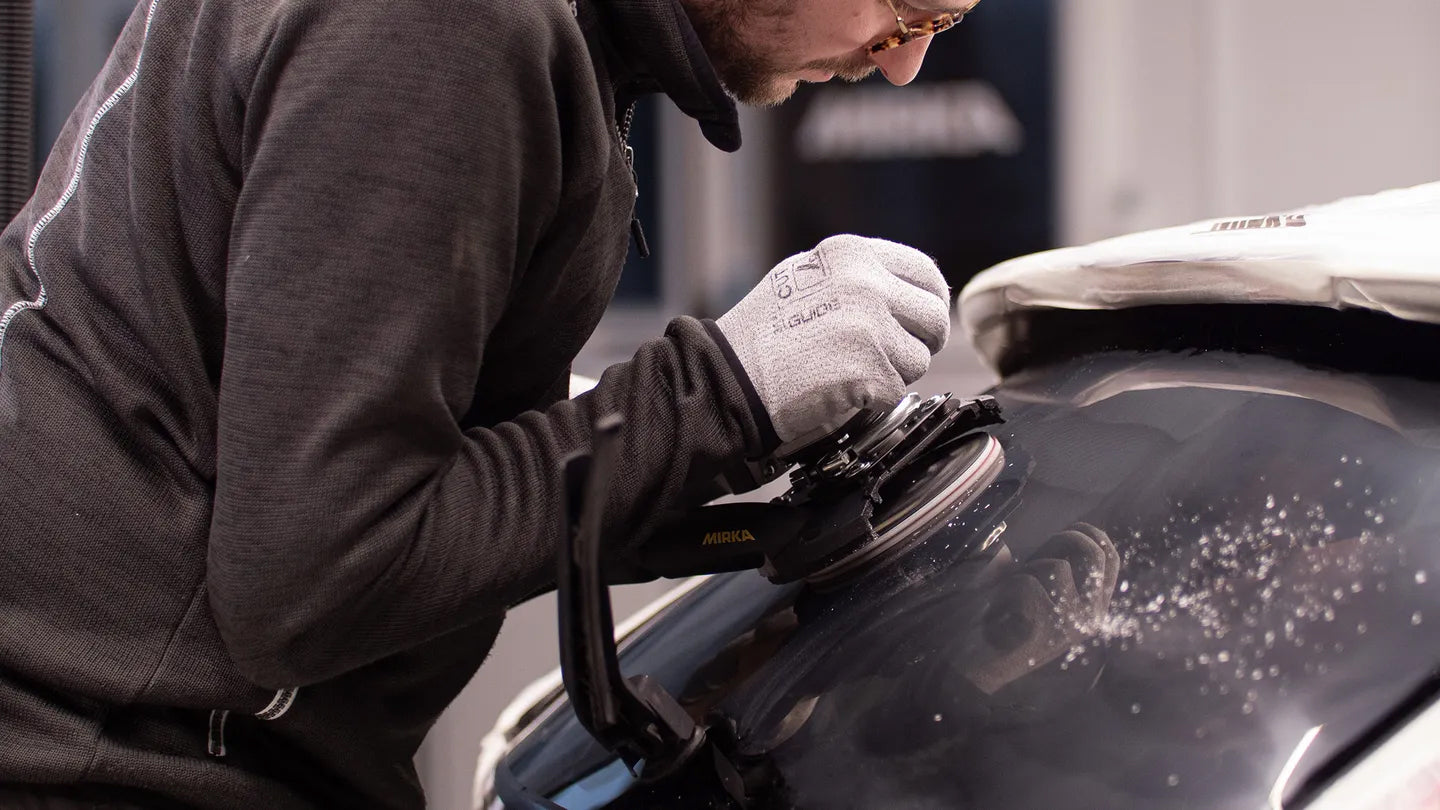
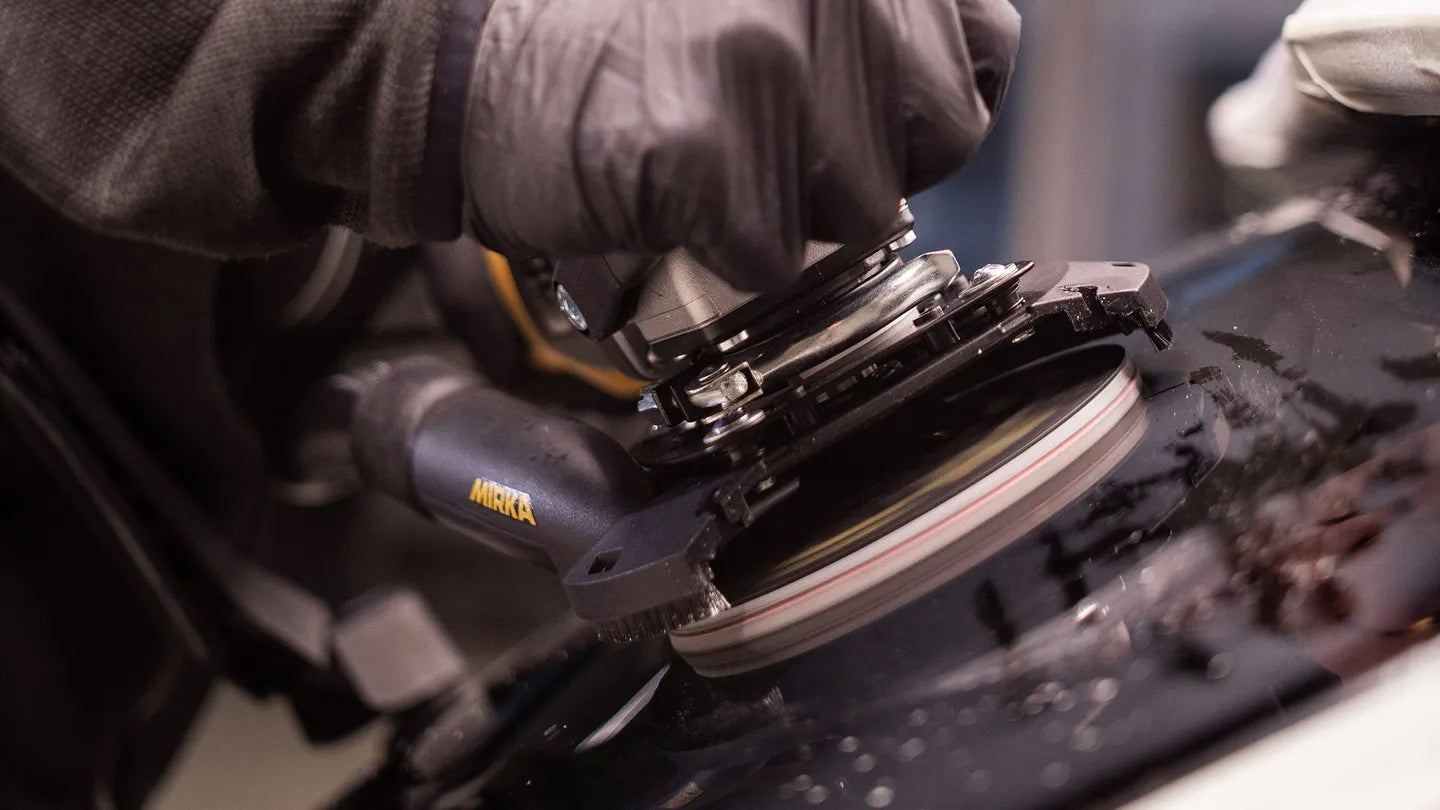
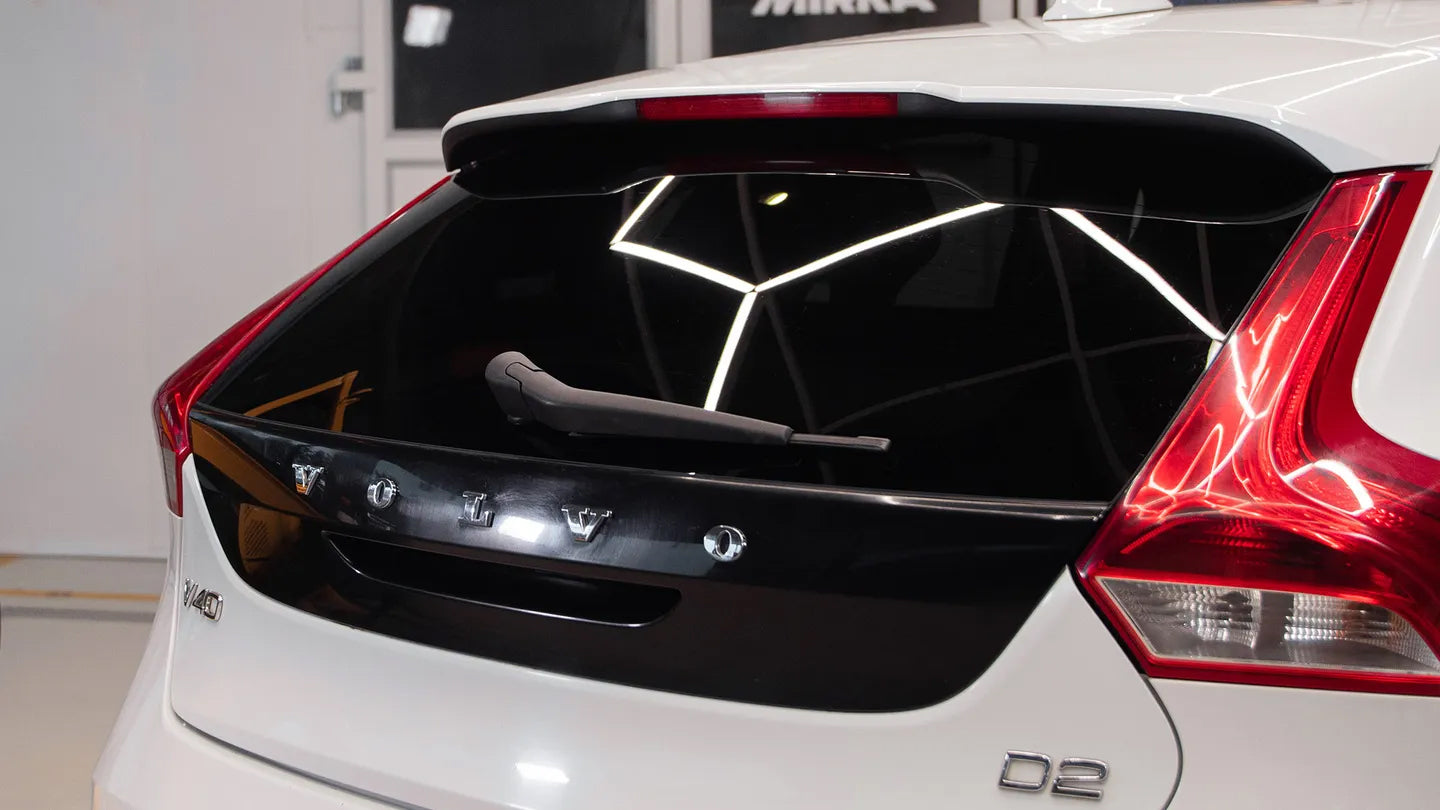
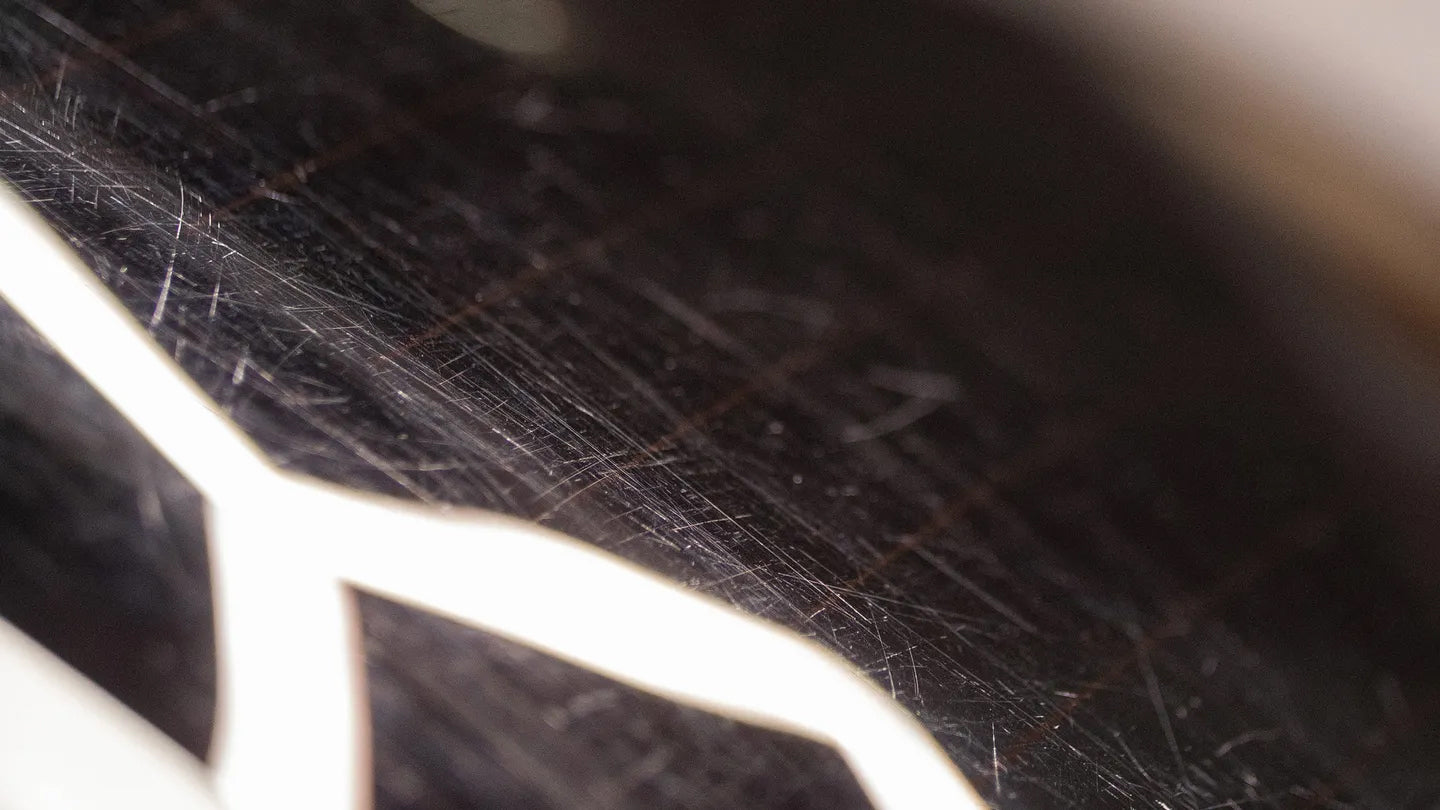
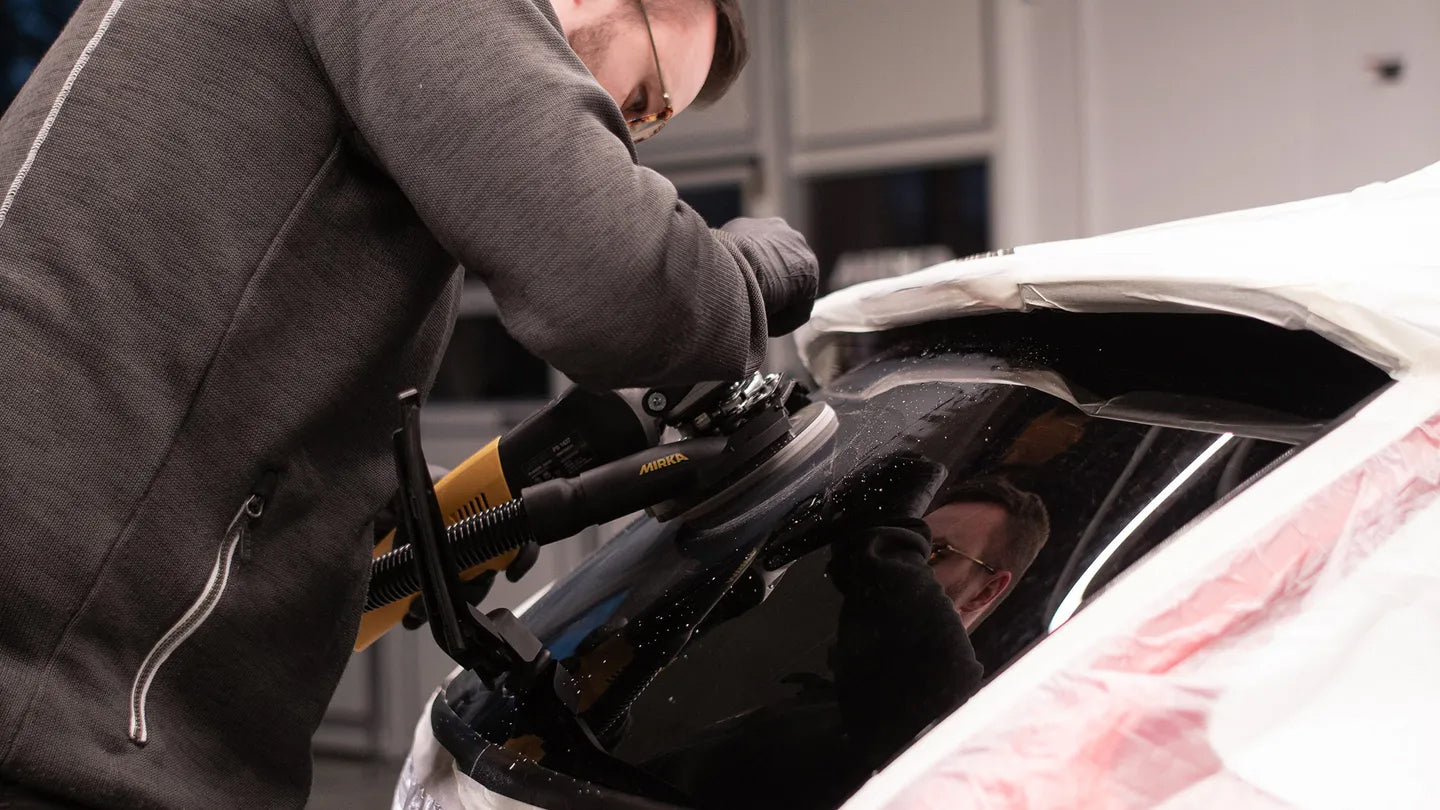
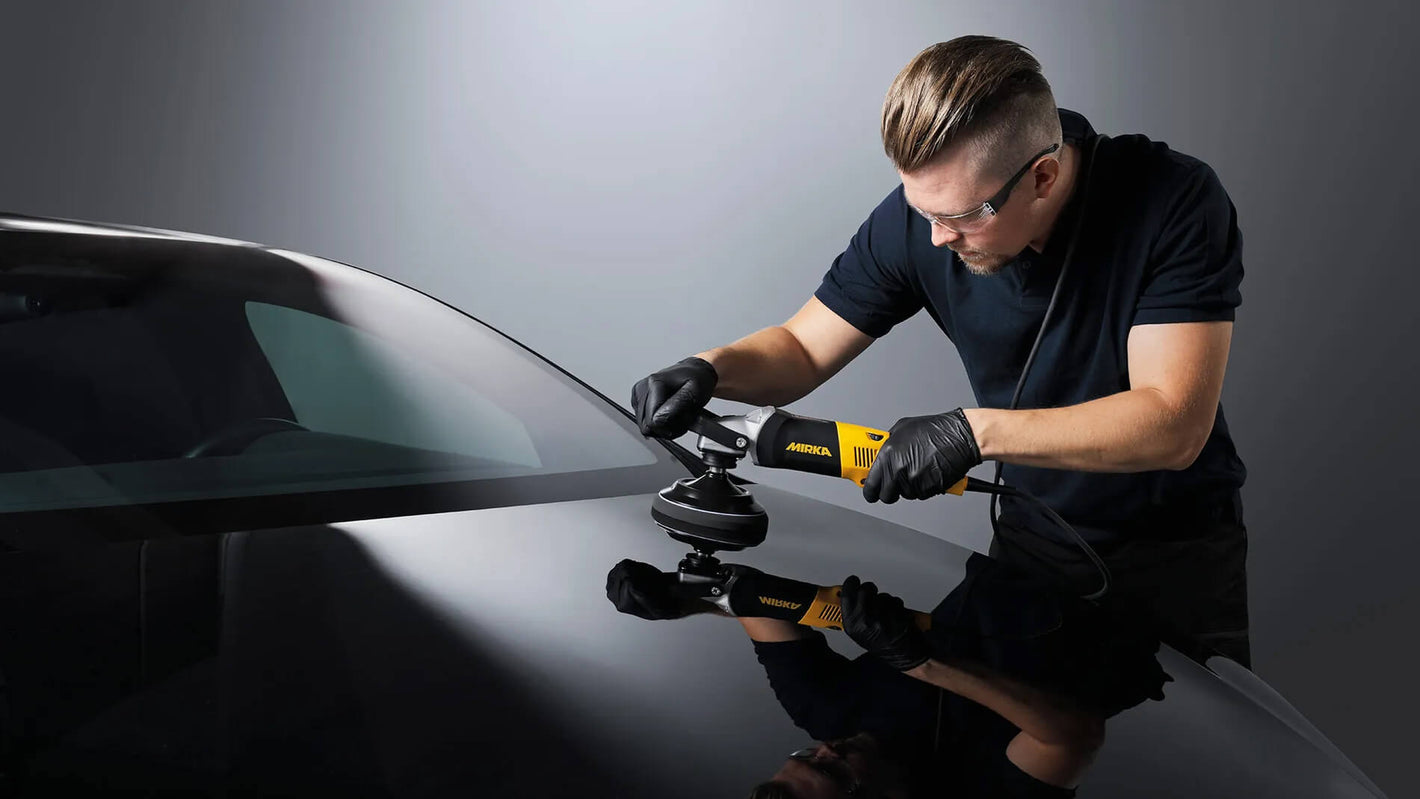
We do not recommend this process on front-facing vehicle windshields due to the risk of optical refraction that is a safety factor when driving, but side windows and back windscreen can be refurbished. This will remove any chalk marks, dirt, and micro scratches.
With this solution, most types of automotive glass can be reconditioned. It is important to remember to keep track of the temperature of the glass. It can not exceed 70 ˚C or 158 ˚F especially on non-hardened glass due to the risk of cracking.
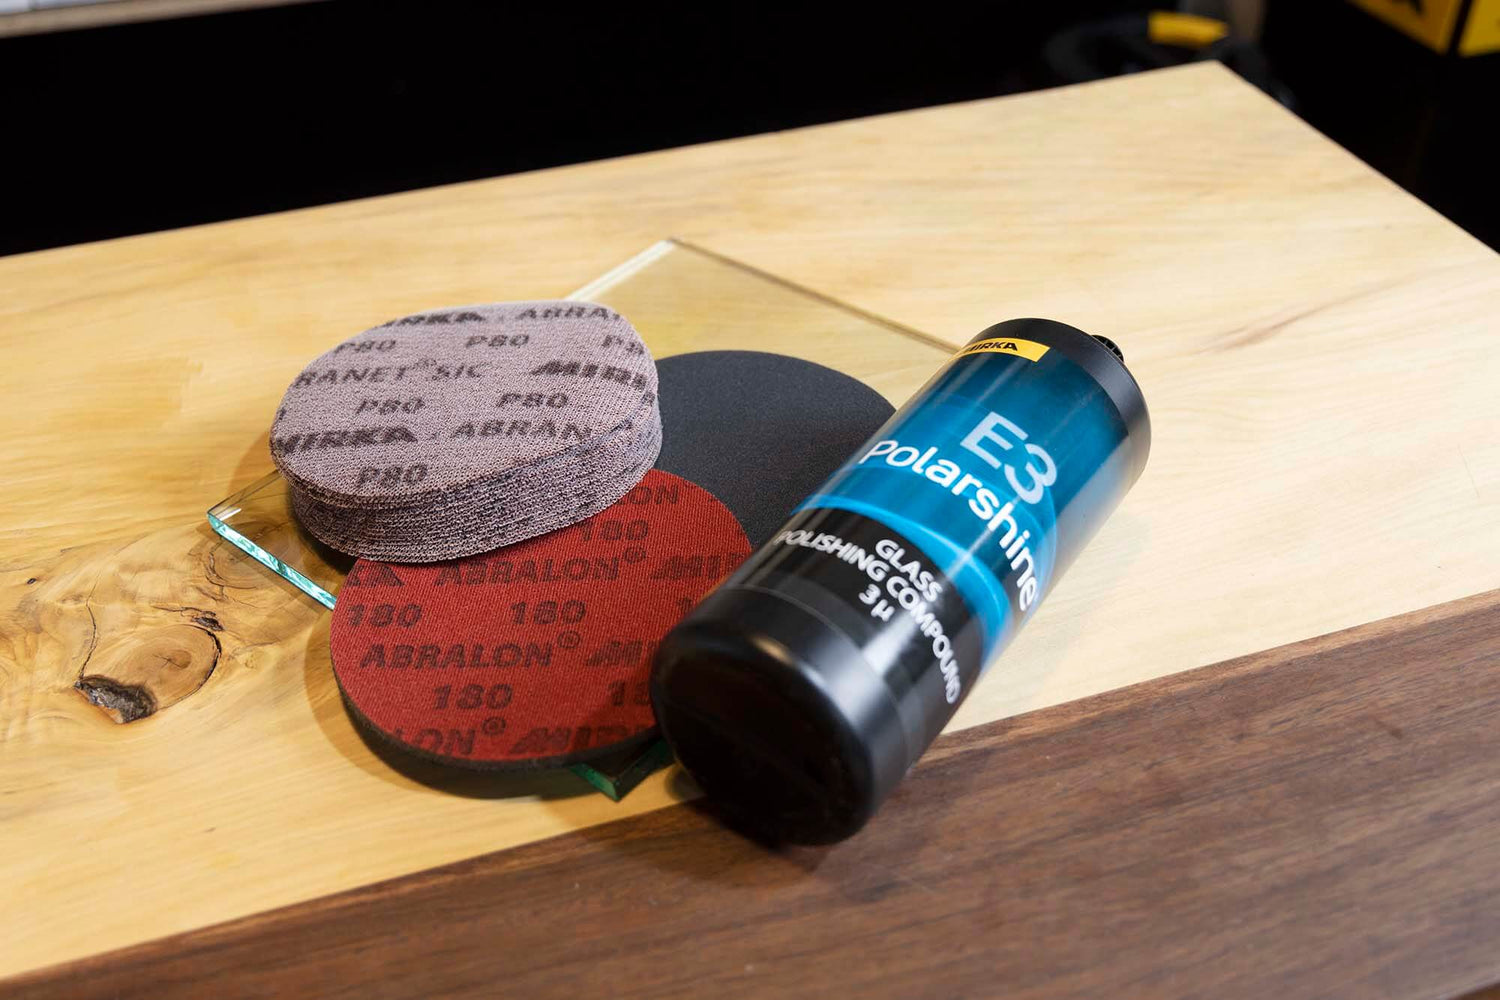
Determining the correct grit can be challenging, as it depends how deep the scratch is, but start with a fine grit and go towards coarse until you the scratch is reduced, rather than starting with a too coarse grit and spending more time on the job. Sanding glass removes material and the coarse grits remove more.
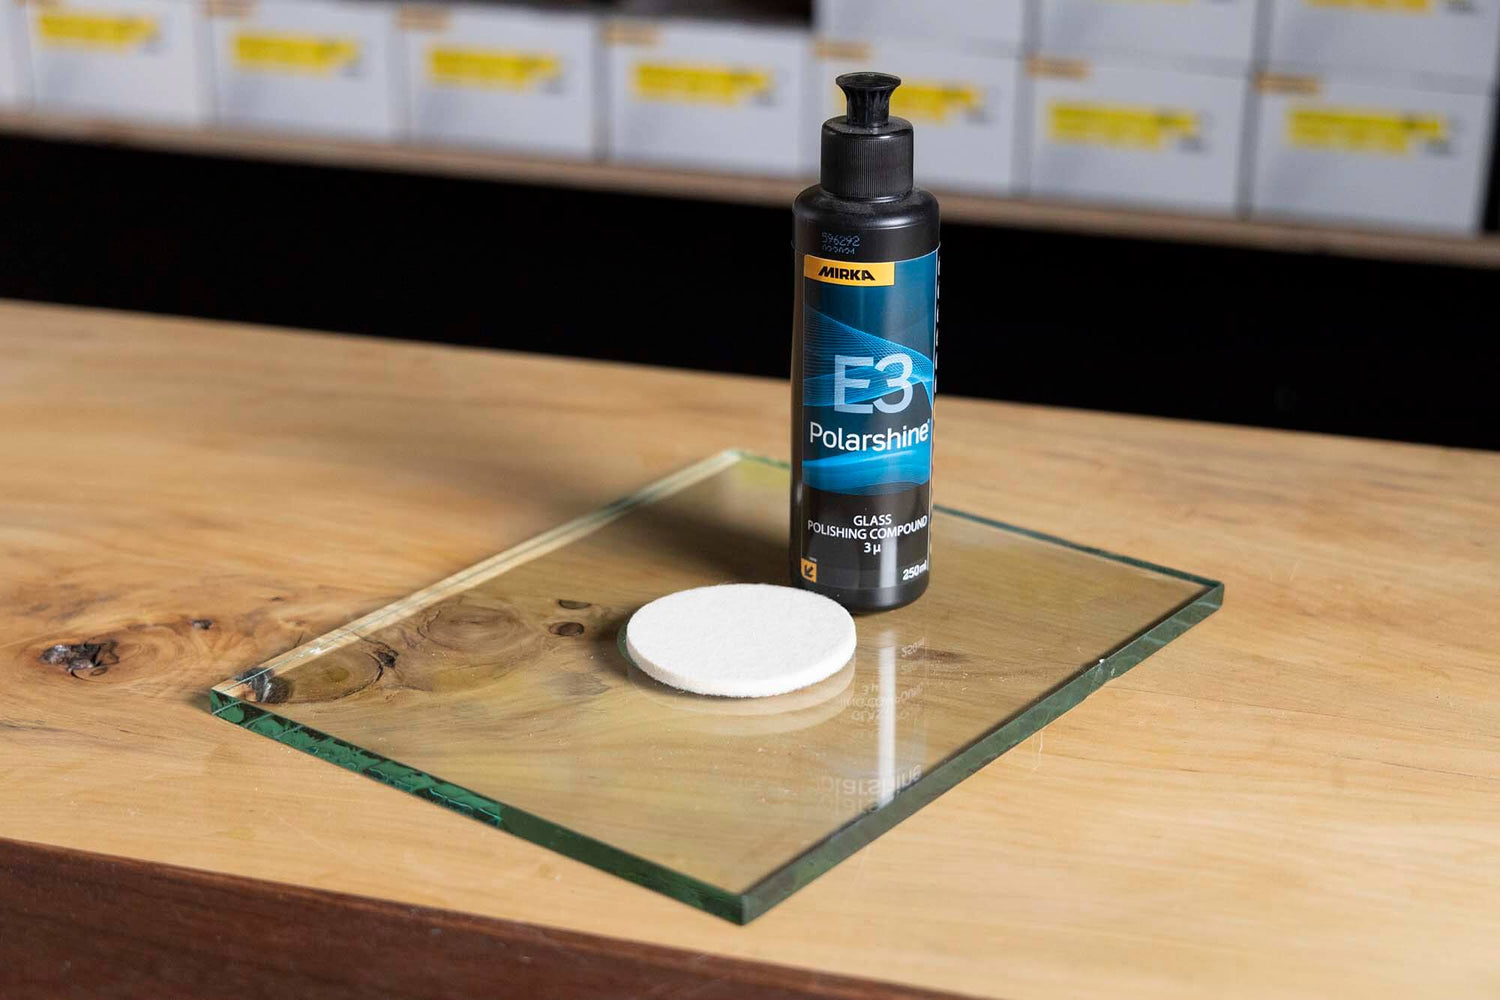
The fewer steps necessary to get the job done, the better. Otherwise, there is a risk of optical refraction. The polishing step takes longer than the sanding steps.
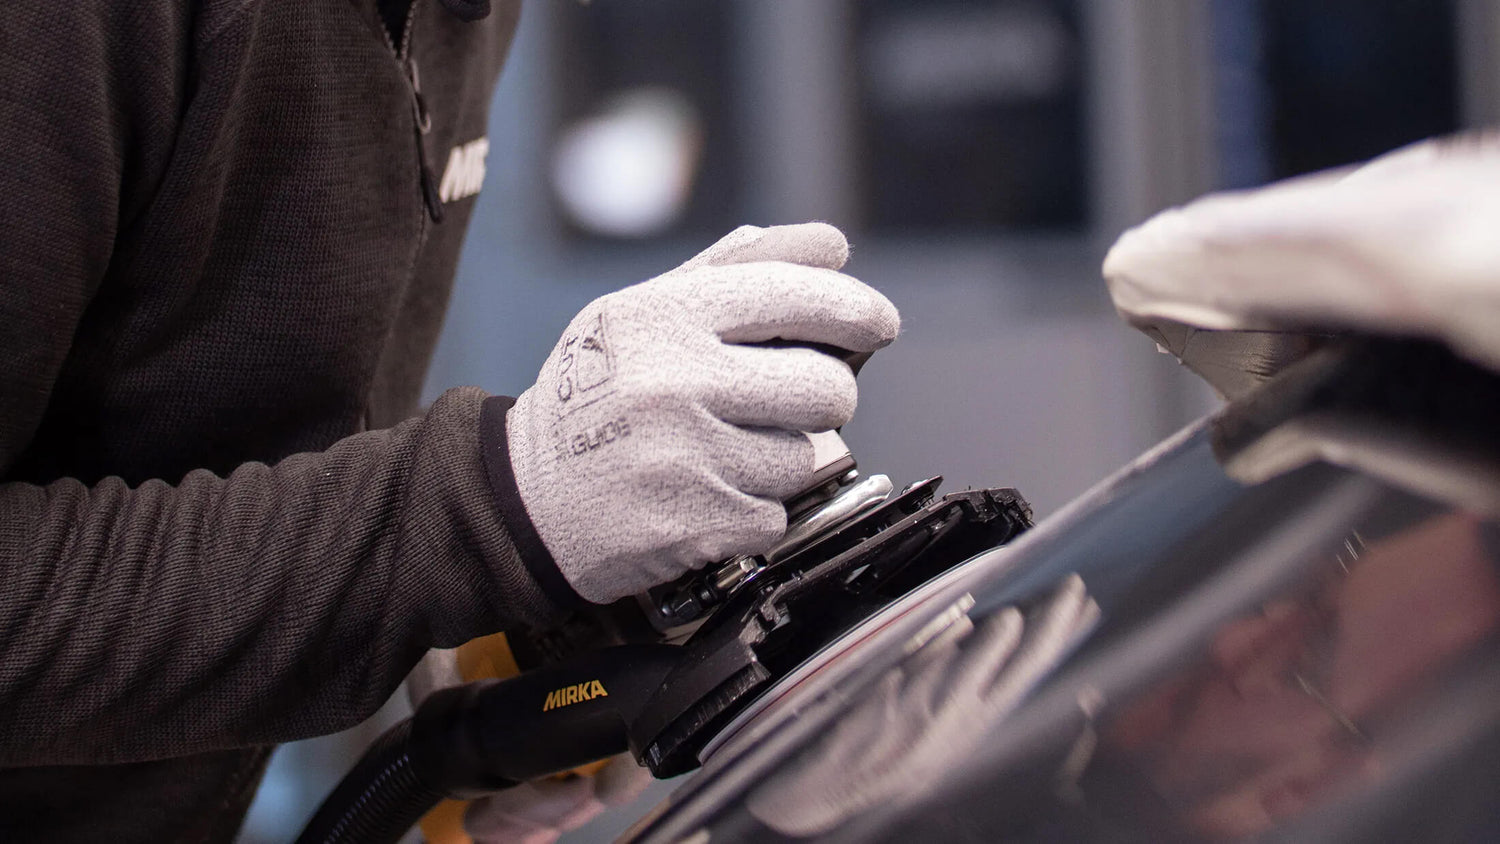
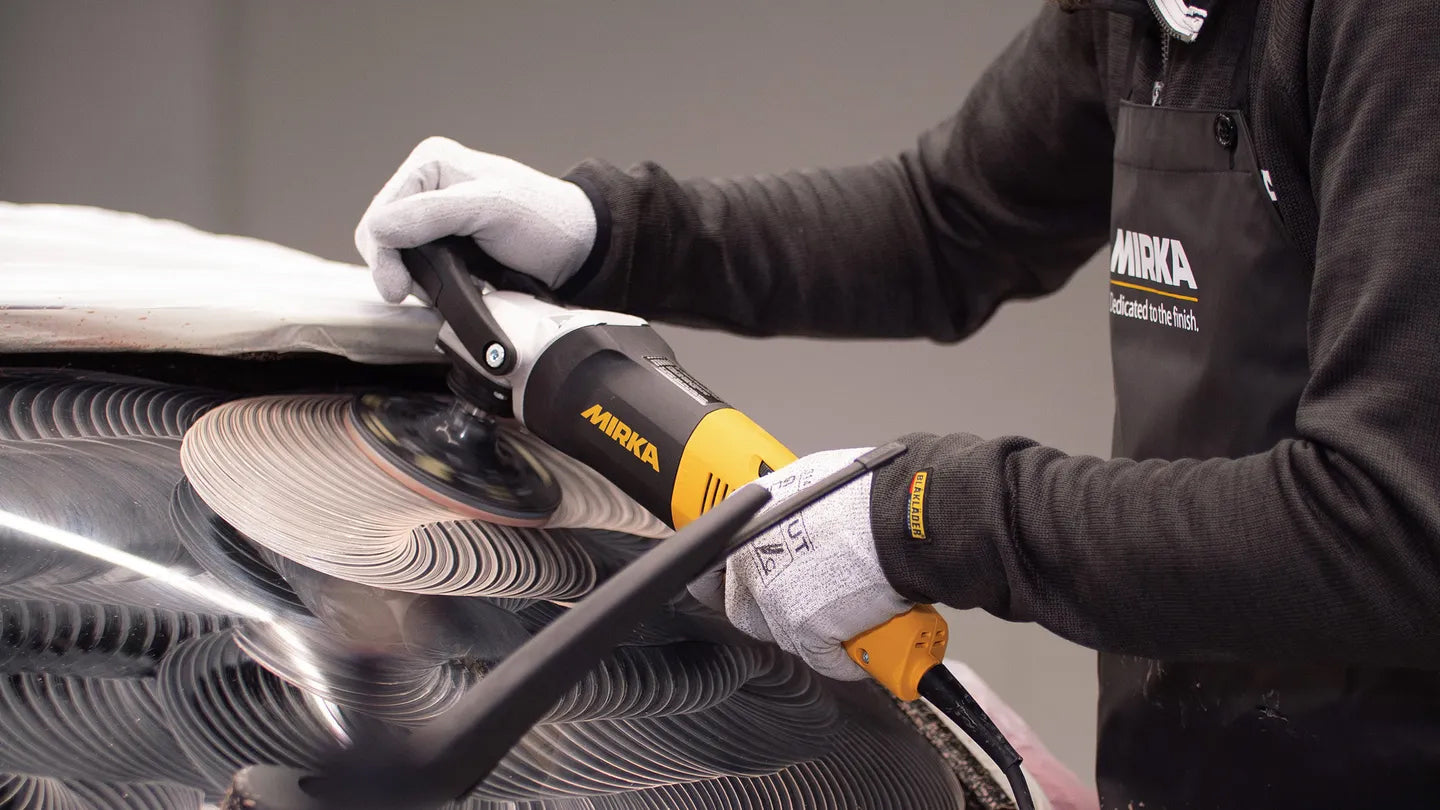
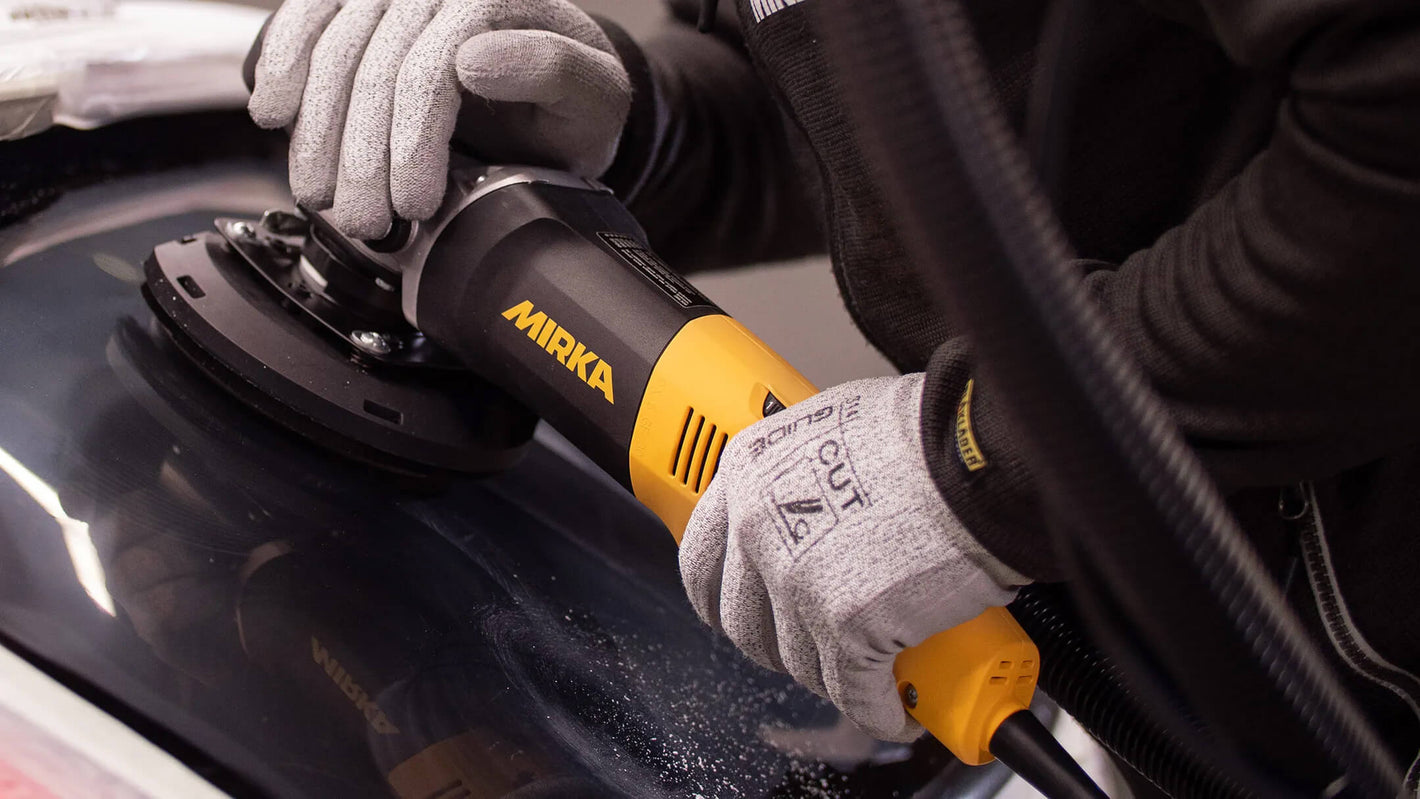
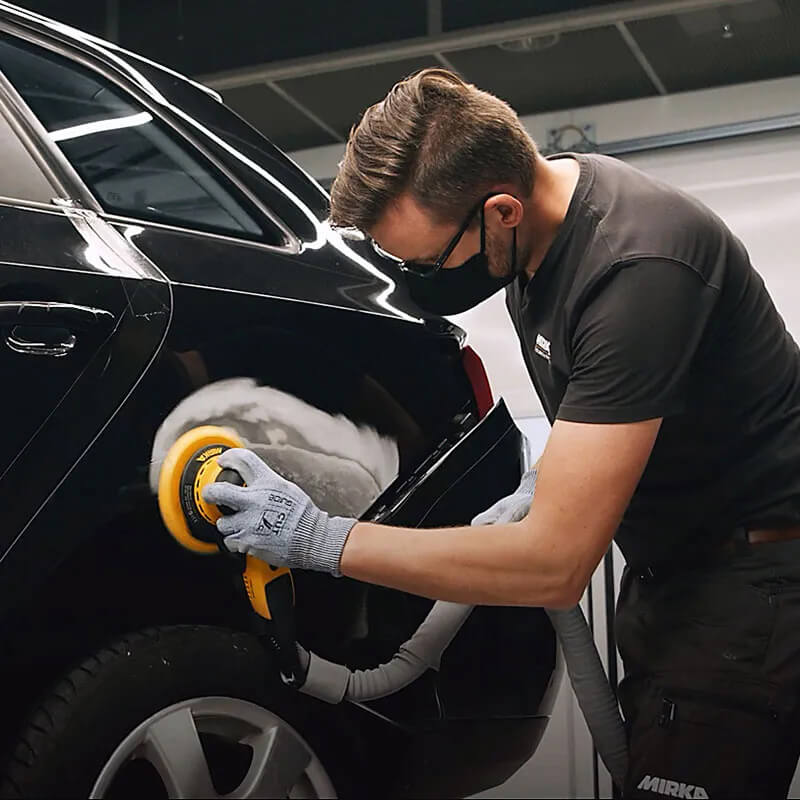
When sanding and polishing, keep the polisher flat to surface, this will give a better and smoother finish.
Clean in between the steps to avoid dust from previous steps causing any scratches.
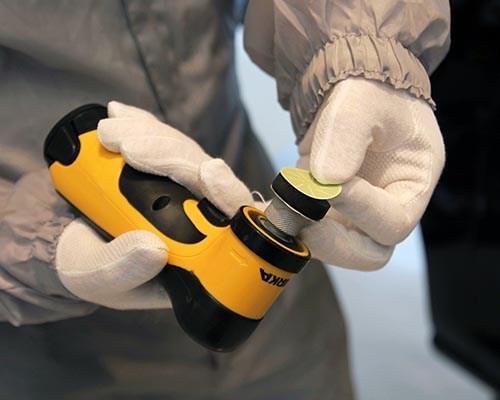
Throughout the entire process, do not touch the glass with bare fingers, as transferred grease will affect the result and in worst case fingerprints will be visible. Use gloves!
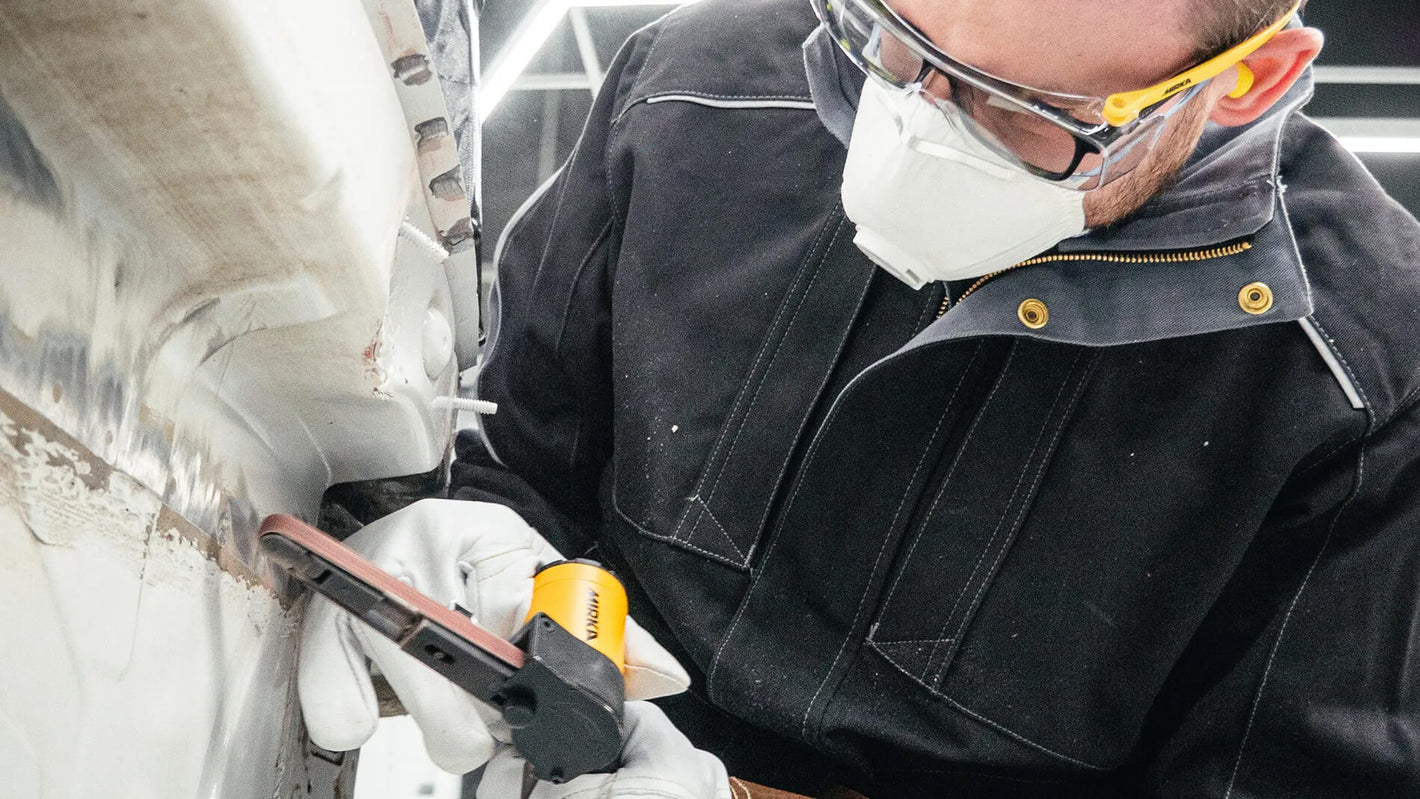
Always use a dust protection mask. Please check local legislation about concentrations known to be hazardous.
Take sufficient time over each sanding step, it is all about giving each step the time it needs.


